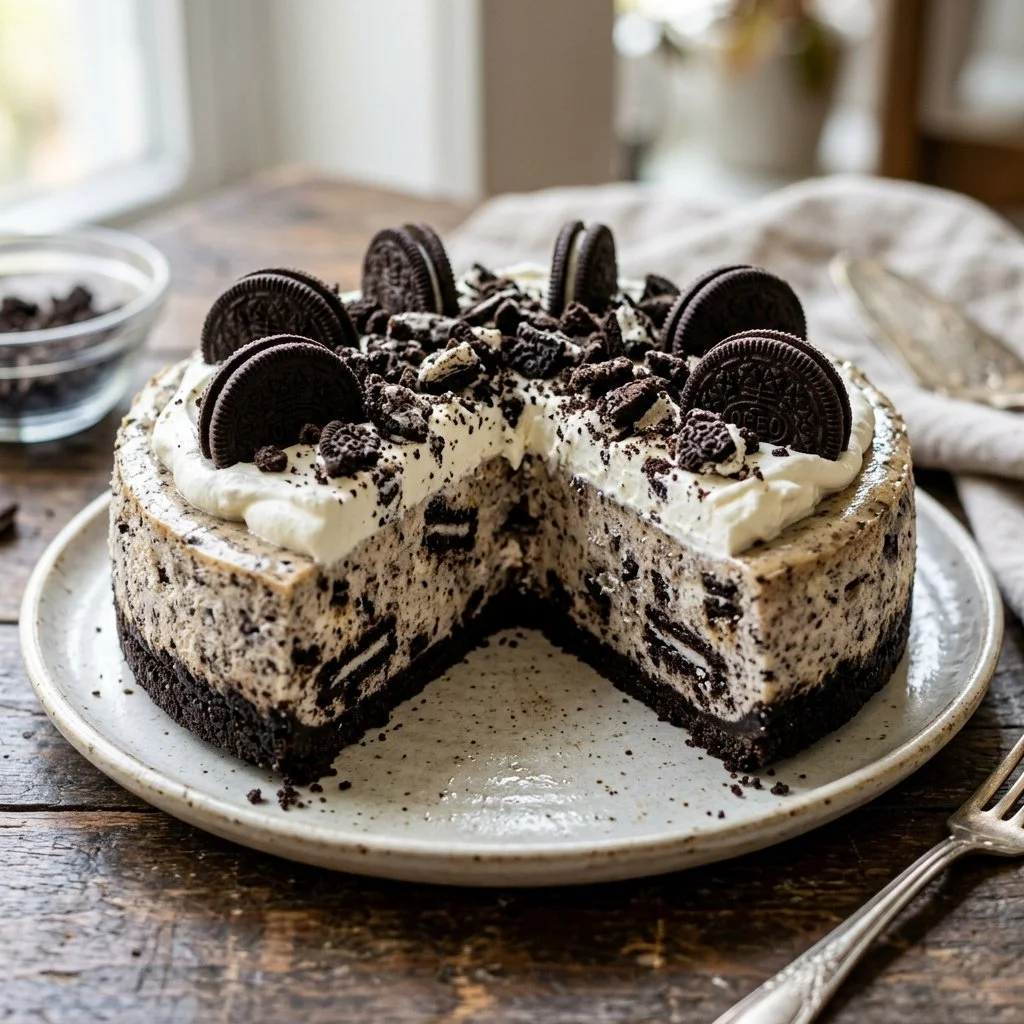
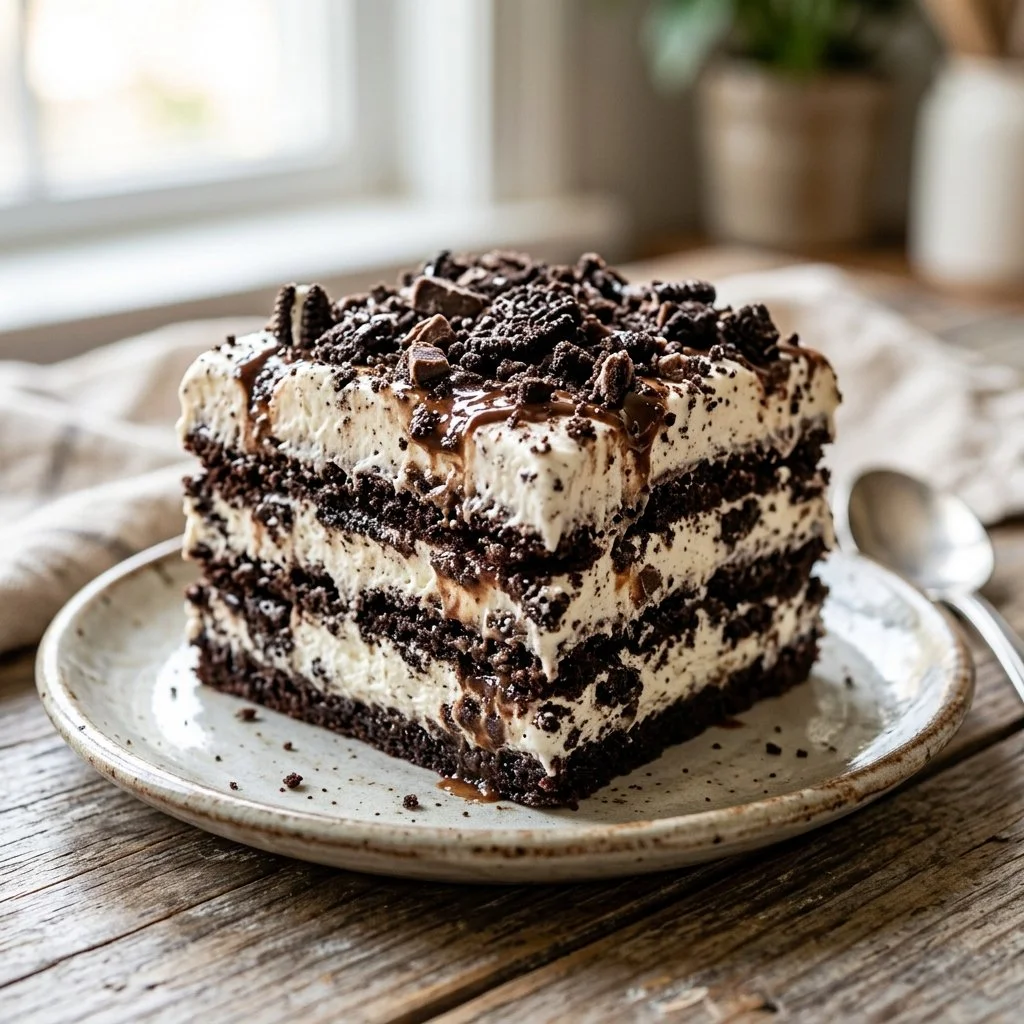
There’s something magical about a dessert that requires minimal effort and maximum flavor. I remember the first time I encountered an Oreo Icebox Cake at a family gathering. The sight of creamy layers nestled between crunchy cookies was captivating, and I felt an undeniable pull towards it. As I took my first bite, the nostalgia of my childhood flooded back — every crumb spoke of late-night snacks and cheerful gatherings. It was love at first taste, and I knew right then that I had to recreate this iconic dessert in my own kitchen.
Recipe Timing
- Prep Duration: 20 minutes
- Active Cooking: 0 minutes (No baking required!)
- Total Duration: 4 hours (includes chilling time)
- Portion Size: Serves 12
- Complexity: Simple
Nutritional Recipe
- Calories per portion: 360
- Protein: 4g
- Carbs: 51g
- Fats: 17g
- Fiber: 1g
- Sugars: 32g
- Sodium: 150mg
Why You’ll Love This Oreo Icebox Cake
Imagine a dessert that’s not just a treat but an experience. This Oreo Icebox Cake beautifully layers that familiar crunch of Oreos with a rich, creamy filling that melts in your mouth. It’s perfect for any occasion — from birthdays to casual get-togethers. Plus, there’s no baking involved! What makes this dessert extra special is how it brings people together. Each forkful is laden with childhood memories and secrets shared over sweet bites.
The Complete Cooking Journey
Making an Oreo Icebox Cake is truly a delightful journey. You’ll find joy in simply preparing a few layers. With every dip of an Oreo in milk, the excitement builds. The moment your layers come together is a celebration of simplicity and deliciousness. And as it rests in the fridge, it transforms into the showstopper you’ve been anticipating. If patience is a virtue, this cake certainly proves it. Allowing it to chill overnight only enhances the flavors, making it a perfect treat to prepare in advance.
Ingredients:
- 2 packages of Oreo cookies
- 1 cup milk
- 8 oz cream cheese, softened
- 1/2 cup powdered sugar
- 1 container (12 oz) whipped topping
- Chocolate shavings or extra Oreos for garnish (optional)
Method:
Step 1: Beat the Cream Cheese Mixture
In a mixing bowl, beat the softened cream cheese and powdered sugar until smooth. The key here is to achieve a velvety texture that will be the heart of your cake.
Step 2: Fold in the Whipped Topping
Gently fold the whipped topping into the cream cheese mixture until fully combined. You want to keep it light and airy, so take your time with this step.
Step 3: Prepare the Oreo Cookies
Dip each Oreo cookie briefly in milk and layer them in a 9×13 inch dish. The milk will soften the cookies slightly, creating the perfect base for your cake.
Step 4: Spread the Cream Cheese Layer
Spread a layer of the creamy mixture over the Oreos. Let your inner artist shine – this is where the cake starts to come alive!
Step 5: Repeat the Layering Process
Repeat the layers until all ingredients are used, finishing with a cream cheese layer on top. Don’t worry about perfection; the beauty of this cake is in its rustic charm.
Step 6: Chill the Cake
Refrigerate for at least 4 hours or overnight to allow the cake to set. This is the hardest part! Try not to sneak bites until it’s ready.
Step 7: Garnish and Serve
Garnish with chocolate shavings or crushed Oreos before serving. This final touch elevates your cake from delightful to downright impressive.
Serving Suggestions & Pairings
This Oreo Icebox Cake pairs perfectly with a scoop of vanilla ice cream or a rich cup of coffee. It’s also delightful adorned with fresh berries or a drizzle of chocolate sauce. Whether you’re serving it at a party or enjoying it on a quiet evening, it strikes the right balance between indulgence and comfort.
Storage & Leftovers Guide
Store any leftovers in an airtight container in the refrigerator for up to 5 days (if it lasts that long!). The flavors will deepen and the cake remains as delightful as the first day.
Kitchen Wisdom & Success Tips
- Ingredient Temperature: Make sure your cream cheese is at room temperature; it blends smoother and yields a better texture.
- Milk Dipping Technique: Don’t soak the Oreos! Just a quick dip, or they’ll turn too mushy.
- Presentation: For an elegant touch, consider making individual desserts in mason jars or cups.
Flavor Variations & Adaptations
Feeling adventurous? Try swapping out the Oreos for graham crackers for a s’mores-inspired version. You can also add layers of fruit, like bananas or strawberries, to enhance both flavor and texture.
Reader Questions & Solutions
-
Can I use low-fat cream cheese?
Yes, but be aware it may affect the texture and creaminess slightly. -
What if I don’t have whipped topping?
You can make your own by whipping heavy cream with sugar until soft peaks form. -
How do I make it gluten-free?
Use gluten-free Oreo cookies, which are available in most grocery stores. -
Can I freeze this cake?
Yes, you can freeze it for up to 3 months. Thaw it in the refrigerator before serving. -
Can I use different flavored cookies?
Absolutely! Mint Oreos or peanut butter-filled Oreos can create a delightful twist.
Wrapping Up
There’s a special kind of joy that comes from creating simple, delicious desserts like this Oreo Icebox Cake. It’s more than just a recipe; it’s a way to make memories, to share smiles, and to indulge in sweet nostalgia. So gather your ingredients, rally your loved ones, and embark on this sweet journey. Happy baking!
PrintOreo Icebox Cake

A delightful no-bake dessert that layers crunchy Oreo cookies with a rich, creamy filling, perfect for any occasion.
- Prep Time: 20 minutes
- Cook Time: 0 minutes
- Total Time: 240 minutes
- Yield: 12 servings 1x
- Category: Dessert
- Method: No-Bake
- Cuisine: American
- Diet: Vegetarian
Ingredients
- 2 packages of Oreo cookies
- 1 cup milk
- 8 oz cream cheese, softened
- 1/2 cup powdered sugar
- 1 container (12 oz) whipped topping
- Chocolate shavings or extra Oreos for garnish (optional)
Instructions
- Beat the cream cheese and powdered sugar until smooth.
- Fold the whipped topping into the cream cheese mixture until combined.
- Prepare the Oreo cookies by dipping them briefly in milk.
- Spread a layer of the creamy mixture over the Oreos.
- Repeat the layering process until all ingredients are used.
- Chill the cake for at least 4 hours or overnight to set.
- Garnish with chocolate shavings or crushed Oreos before serving.
Notes
Make sure your cream cheese is at room temperature for the best texture. Store leftovers in an airtight container for up to 5 days.
Nutrition
- Serving Size: 1 serving
- Calories: 360
- Sugar: 32g
- Sodium: 150mg
- Fat: 17g
- Saturated Fat: 9g
- Unsaturated Fat: 5g
- Trans Fat: 0g
- Carbohydrates: 51g
- Fiber: 1g
- Protein: 4g
- Cholesterol: 30mg