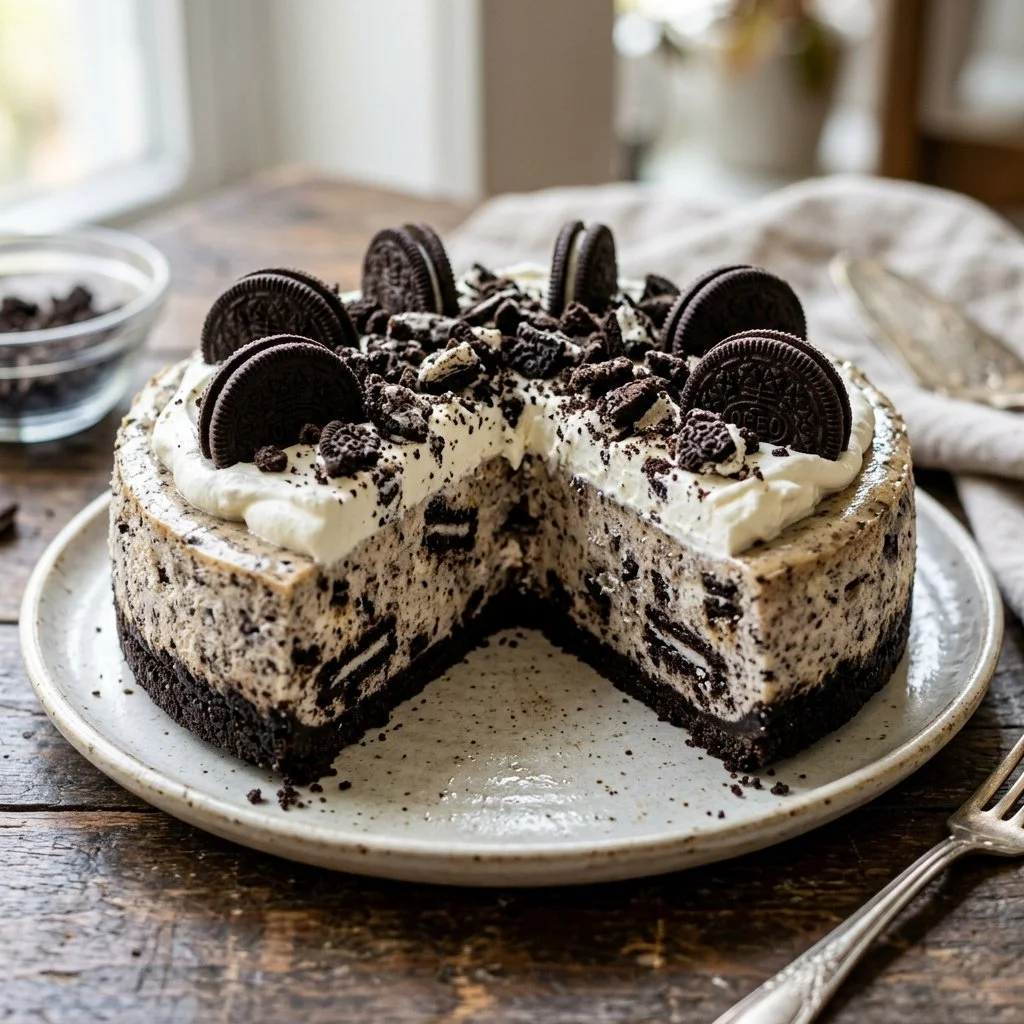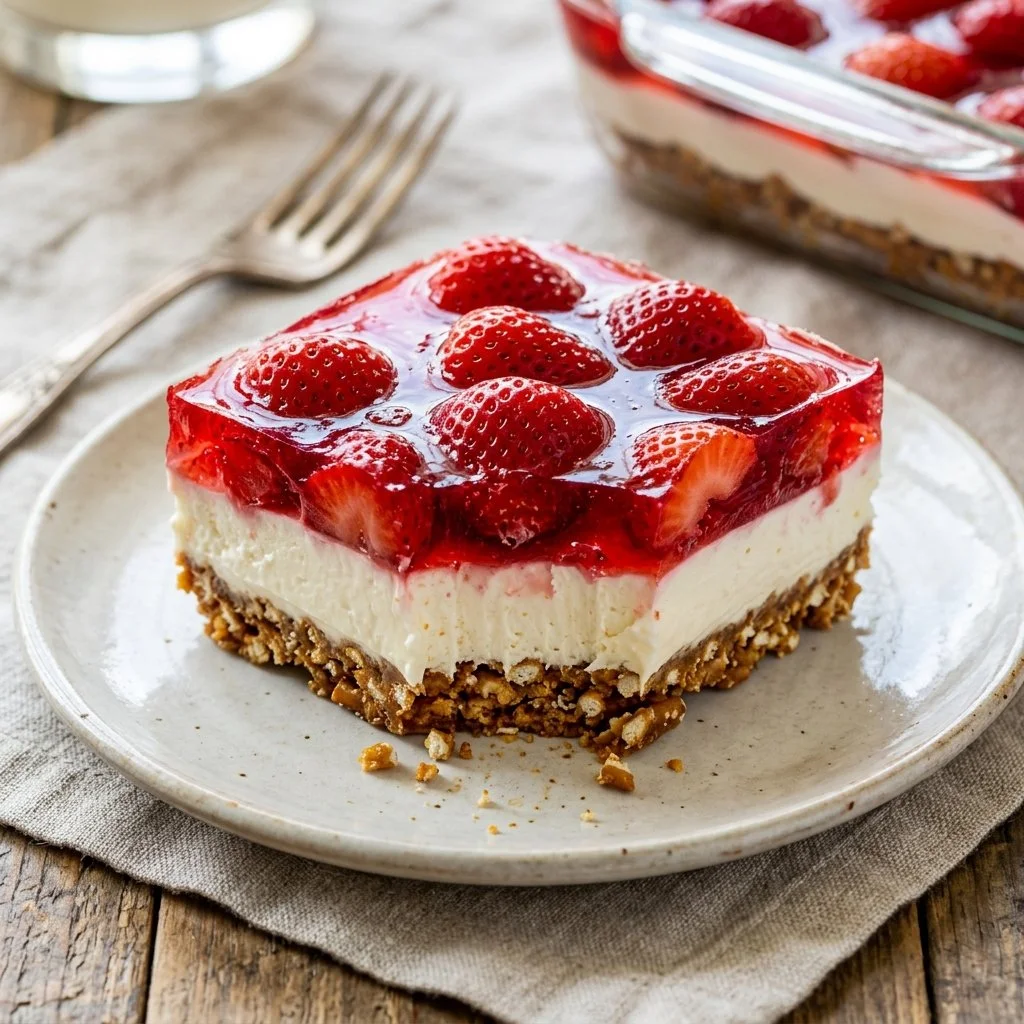
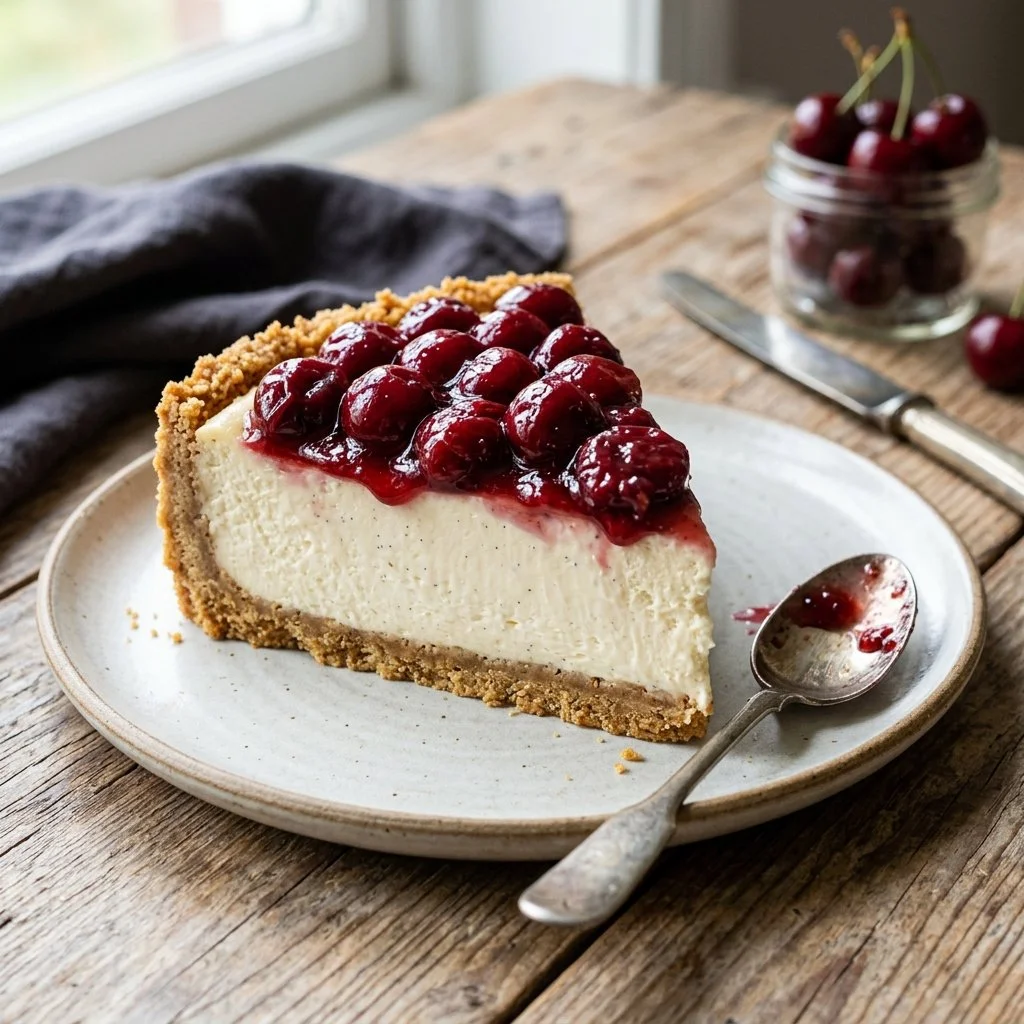
There’s something utterly enchanting about a No Bake Cheesecake that takes me back to my childhood. I remember warm summer evenings spent outdoors, the sun gently dipping below the horizon, and my family gathered around the table with laughter echoing through the air. Desserts were a big deal in our household, and there was always a creamy cheesecake that stole the show. The best part? No baking required! This delightful recipe has not only become a staple in my kitchen but also a cherished memory linked to love and togetherness.
Recipe Timing
- Prep Duration: 20 minutes
- Active Cooking: 15 minutes
- Total Duration: 4 hours 15 minutes (including chilling time)
- Portion Size: Serves 8
- Complexity: Simple
Nutritional Recipe
- Calories per portion: Approximately 360
- Protein: 5g
- Carbs: 34g
- Fats: 24g
- Fiber: 1g
- Sugars: 16g
- Sodium: 200mg
Why You’ll Love This No Bake Cheesecake
This No Bake Cheesecake is the epitome of simplicity and indulgence rolled into one heavenly dessert. It boasts a rich, creamy filling kissed with vanilla and a buttery graham cracker crust that contrasts perfectly with its smooth texture. Best of all, it’s incredibly versatile—dress it up with fresh fruits, decadent chocolate sauce, or whatever your heart desires. This cheesecake brings everyone together, making it a perfect dessert for family gatherings, potlucks, or simply celebrating life’s little moments.
The Complete Cooking Journey
Creating this cheesecake requires just a handful of ingredients and minimal effort, yet it results in a showstopping dessert that looks and tastes as though you’d spent hours in the kitchen. Let’s embark on this delicious journey together, from preparing the crust to the final chill before serving.
Ingredients:
- 2 cups graham cracker crumbs
- 1/2 cup unsalted butter, melted
- 1 cup powdered sugar
- 2 cups cream cheese, softened
- 1 teaspoon vanilla extract
- 1 cup heavy whipping cream
Method:
Step 1: Create the Graham Cracker Crust
In a bowl, mix graham cracker crumbs and melted butter until combined. Press the mixture evenly into the bottom of a 9-inch springform pan to create a sturdy base for your cheesecake.
Step 2: Beat the Cream Cheese Mixture
In another bowl, beat the cream cheese until it’s silky smooth. Gradually add the powdered sugar and vanilla extract, mixing until everything is well incorporated and the mixture is fluffy.
Step 3: Whip the Cream to Perfection
In a separate bowl, whip the heavy cream until stiff peaks form. This step is crucial for achieving that light, airy texture that makes this cheesecake so irresistible.
Step 4: Combine the Mixtures
Gently fold the whipped cream into the cream cheese mixture, being careful not to deflate the airiness you just created. This ensures that every slice is delightfully light.
Step 5: Pour the Filling into the Crust
Pour the creamy filling over the prepared crust, spreading it evenly with a spatula. Get ready to marvel at this creamy layer laid over your crunchy base.
Step 6: Chill and Set
Refrigerate for at least 4 hours, or until the cheesecake has set firmly. Patience is a virtue here—each minute in the fridge allows the flavors to meld beautifully.
Step 7: Serve Your Cheesecake
Once set, carefully remove the cheesecake from the springform pan and serve chilled. Enhance each slice with fresh fruits, chocolate sauce, or your favorite topping for an extra touch of magic.
Serving Suggestions & Pairings
This No Bake Cheesecake shines on its own, but why stop there? Serve it alongside fresh berries or a drizzle of strawberry or caramel sauce for an elegant touch. Pair it with a warm cup of coffee or a refreshing glass of iced tea to elevate your dessert experience.
Storage & Leftovers Guide
Keep your cheesecake stored in an airtight container in the fridge where it will stay fresh for up to 5 days. If you simply can’t finish it all, you can freeze individual slices for a quick indulgence later—just wrap each slice tightly in plastic wrap and place it in a freezer-safe container. They’ll last for about 2 months in the freezer.
Kitchen Wisdom & Success Tips
- Make sure your cream cheese is at room temperature for easy mixing; it will help achieve that creamy consistency without lumps.
- Don’t rush the whipping of the heavy cream—fully whipped cream will provide the structure needed to keep the cheesecake stable.
- If you’re short on time but still craving this recipe, skip the chill time after mixing the filling and simply serve it as a fluffy cheesecake mousse in bowls!
Flavor Variations & Adaptations
Feel free to experiment with flavors! Add a touch of lemon zest or juice for a citrus twist, or incorporate melted chocolate for a rich chocolate cheesecake. You can also try swapping out the graham cracker crust for an Oreo crust for a delicious chocolatey spin.
Reader Questions & Solutions
-
What if my cream cheese is lumpy?
Make sure it’s at room temperature and be diligent in mixing until smooth before adding any other ingredients. -
Can I use a different pan?
Yes! A regular pie dish or a tart pan works well, but ensure it’s deep enough to hold the filling. -
How do I know when the cheesecake is set?
It should be firm yet slightly jiggly in the center; if it feels too soft, give it a bit longer in the fridge. -
Can I add fruit to the cheesecake filling?
Absolutely! Swirl in your favorite fruit puree for a fruity twist, but be mindful not to add too much liquid. -
What toppings do you recommend?
Fresh fruit, chocolate shavings, or a dusting of powdered sugar work wonderfully!
Wrapping Up
With its dreamy creamy texture and luscious flavors, this No Bake Cheesecake is sure to be a hit. It requires minimal effort while delivering maximum satisfaction. So gather your ingredients, bring out that springform pan, and let’s create something special together—a cheesecake that promises not just to satisfy your sweet tooth but also to create lasting memories around your dinner table. Happy baking, or rather, no baking! Enjoy every delectable bite!
PrintNo Bake Cheesecake
A rich and creamy no-bake cheesecake with a buttery graham cracker crust, perfect for family gatherings and potlucks.
- Prep Time: 20 minutes
- Cook Time: 15 minutes
- Total Time: 255 minutes
- Yield: 8 servings 1x
- Category: Dessert
- Method: No-Bake
- Cuisine: American
- Diet: Vegetarian
Ingredients
- 2 cups graham cracker crumbs
- 1/2 cup unsalted butter, melted
- 1 cup powdered sugar
- 2 cups cream cheese, softened
- 1 teaspoon vanilla extract
- 1 cup heavy whipping cream
Instructions
- Create the Graham Cracker Crust: In a bowl, mix graham cracker crumbs and melted butter until combined. Press the mixture evenly into the bottom of a 9-inch springform pan.
- Beat the Cream Cheese Mixture: In another bowl, beat the cream cheese until smooth. Gradually add the powdered sugar and vanilla extract, mixing until fluffy.
- Whip the Cream to Perfection: In a separate bowl, whip the heavy cream until stiff peaks form.
- Combine the Mixtures: Gently fold the whipped cream into the cream cheese mixture.
- Pour the Filling into the Crust: Pour the filling over the prepared crust, spreading it evenly.
- Chill and Set: Refrigerate for at least 4 hours until the cheesecake has set firmly.
- Serve Your Cheesecake: Remove the cheesecake from the springform pan and serve chilled with toppings.
Notes
Make sure your cream cheese is at room temperature for easy mixing. You can freeze individual slices for a quick treat later.
Nutrition
- Serving Size: 1 slice
- Calories: 360
- Sugar: 16g
- Sodium: 200mg
- Fat: 24g
- Saturated Fat: 14g
- Unsaturated Fat: 7g
- Trans Fat: 0g
- Carbohydrates: 34g
- Fiber: 1g
- Protein: 5g
- Cholesterol: 50mg